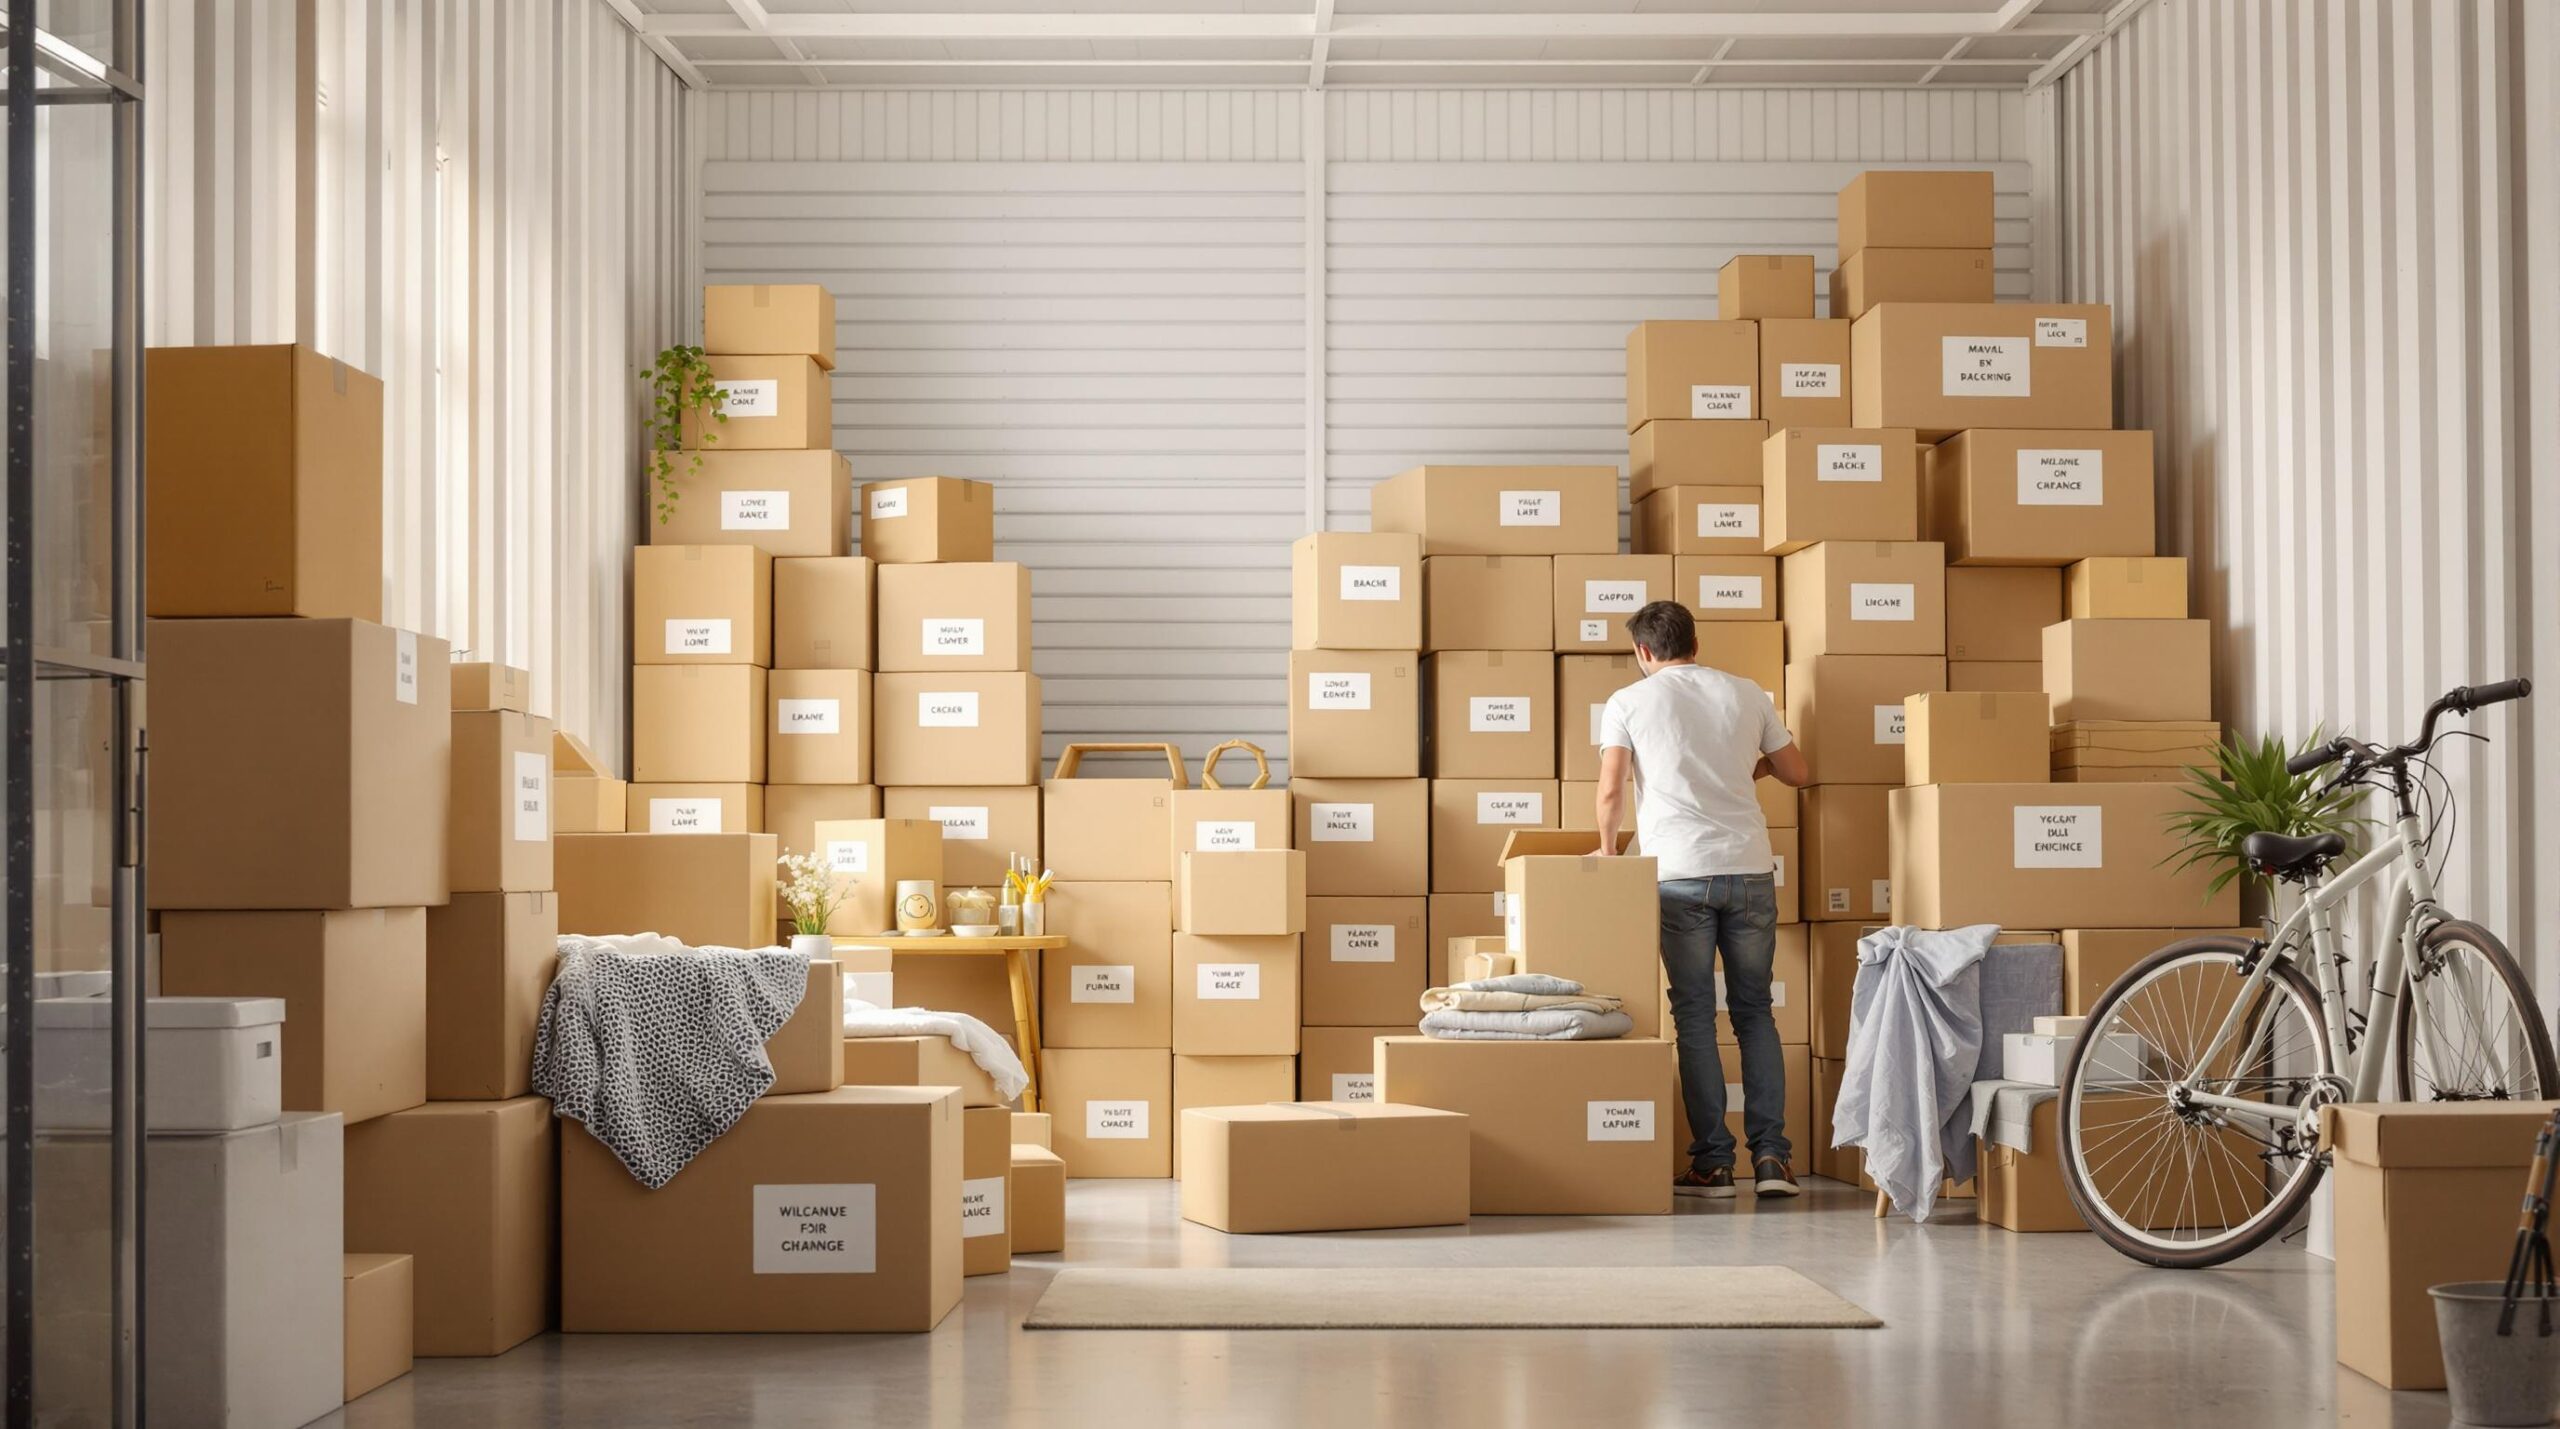
Want to save space, protect your items, and find things easily in storage? Proper packing can reduce storage needs by 30-40% and lower damage risks by 62%. Here’s a quick guide to get started:
- Pick the right unit size: Measure your items and leave 25% extra space for walkways.
- Use quality materials: Small boxes for heavy items, bubble wrap for fragile pieces, and plastic bins for moisture-sensitive belongings.
- Pack smart: Place heavy items at the bottom, leave an aisle for access, and use shelves for lighter boxes.
- Organise efficiently: Label boxes clearly, keep frequently used items in front, and create a digital inventory.
- Protect your items: Elevate everything off the ground, control moisture, and avoid stacking too high.
Step 1: Before You Pack
Choose the Right Unit Size
Did you know that 32% of customers pick storage units that are too small for their needs? Save yourself the trouble by measuring your items and calculating their total volume (LxWxH) before choosing a unit.
Here’s a quick guide to help you select the right sise:
| Unit Size | Capacity | Best For |
|---|---|---|
| 5×5 (25 sq ft) | 50-100 boxes | Contents of a closet or small room |
| 10×10 (100 sq ft) | 1-2 bedroom items | Apartment contents |
| 10×20 (200 sq ft) | 2-3 bedroom items | House contents |
If you’ll need to access your items regularly, leave about 25% extra space for walkways. For furniture-heavy storage, make sure there’s at least 8 feet of vertical clearance for items like queen-sized beds.
Get Your Packing Materials
Using the right packing materials can make a big difference in keeping your items safe. Research from Move.org found that proper materials reduce damage by 68%. Here’s what you’ll need:
Structural Materials:
- Small boxes (1.5 cubic feet) for heavy items like books
- Large boxes (4.5 cubic feet) for lighter items like linens
- Plastic bins for items sensitive to moisture
Protection Materials:
- Bubble wrap (at least 12" wide)
- Moving blankets (2 per furniture piece)
- Acid-free tissue paper for antiques
- Anti-static bubble wrap for electronics
- Desiccant packs (10g size) to control moisture
Organisation Tools:
- Waterproof labels
- Permanent markers
- QR code labels linked to digital inventories
- Color-coded tape (e.g., red for fragile items)
Expert tip: "Quality materials are your first line of defense against damage. Plastic bins prevent 90% of moisture damage compared to cardboard, while proper furniture padding reduces scratch incidents by 75%."
For non-fragile items, butcher paper works fine, but prioritise sturdy boxes for valuables.
Step 2: Pack for Space and Protection
Pack in the Right Order
Start your packing process strategically to make the most of your storage space. Studies show that loading items in the right order can boost storage capacity by up to 50%.
Here’s a practical sequence to follow:
- Base & Walls: Place heavy furniture or appliances on pallets and position flat items, like mirrors or artwork, against the walls.
- Access & Height: Leave a central aisle for easy access and use shelves to organise lighter boxes.
Wrap Delicate Items
Different items need different levels of care. According to storage experts, using proper wrapping techniques can reduce damage by 75%. Here’s a quick guide to protecting fragile items:
| Item Type | Wrapping Material | Special Instructions |
|---|---|---|
| Glassware | Bubble wrap + dish pack | Use dividers between pieces |
| Electronics | Anti-static bubble wrap | No extra steps required |
| Furniture | Moving blankets | Wrap legs separately |
| Mattresses | Breathable covers | Store upright for better fit |
"Climate-controlled units are essential for sensitive electronics and wooden furniture. Maintain consistent temperature and humidity levels to prevent warping, corrosion, and other damage."
Stack Items Safely
Vertical stacking is key to saving space, but it needs to be done carefully. Follow these tips to keep everything secure:
- Place the heaviest boxes (up to 50 lbs each) at the bottom and limit stacks to 4-5 medium-sized boxes.
- Use 2×4 spacers between furniture stacks to allow airflow.
For seasonal fabrics, vacuum-sealed bags can shrink their size by up to 75%. These methods not only save space but also make it easier to organise, which we’ll explore in the next section.
7 Tips How to Organise a Storage Unit Like a Pro
sbb-itb-c296695
Step 3: Keep Items Easy to Find
Maximising space is only half the battle – organising your items so you can find them quickly is just as important. Here’s how you can make retrieval a breeze:
Create Clear Labels
Labels are your best friend when it comes to storage. Waterproof label makers like the DYMO LabelManager last 78% longer than handwritten tags, according to experts. For better visibility, label multiple sides of each box using bold permanent markers on light-colored surfaces.
Want to go digital? Use tools like Google Sheets to create an inventory. Here’s what to track:
| Column Name | Example Entry |
|---|---|
| Box ID | B01-B99 |
| Category | Seasonal Decor |
| Contents | 6 Christmas stockings |
| Location | Left Wall/Shelf 2 |
This combination of physical and digital labeling makes finding items faster and easier.
Place Regular-Use Items in Front
Some items get used more often than others. A survey of 1,200 StorageMart users found that the most frequently accessed items include:
- Seasonal decorations (accessed 2-4 times yearly by 67%)
- Sports equipment (used regularly by 58%)
- Business inventory
Keep these items within 3 feet of the entrance. Use mobile carts or shelving units for easy access. And don’t forget to follow Step 2’s vertical stacking tips – leave a 24-36 inch aisle between stacks to avoid access issues.
Sort Items by Type
Organise items into clear categories and logical subgroups. StoreSpace research found that color-coding can cut retrieval time from 22 minutes to just 8.
"Using transparent bins decreased misplaced items by 91% in our trials. This dual approach of visual organisation and digital tracking has revolutionised storage efficiency."
For items that fit into multiple categories, use dual-purpose labels like "Camping/Cooking Gear" and set up overflow areas. This ensures nothing gets overlooked.
Step 4: Prevent Problems
A well-organised storage unit is just the start. These final steps will help protect your belongings over the long term.
Check Restricted Items List
Storage facilities have strict rules about what you can store. Commonly prohibited items include:
| Category | Examples | Why They’re Restricted |
|---|---|---|
| Flammables | Gasoline, Paint Thinner | Fire risk |
| Chemicals | Fertilisers, Cleaners | Toxic exposure |
| Perishables | Food, Live Plants | Attract pests |
| Electronics | Uncleaned Appliances | Prone to moisture damage |
Storing these items can lead to fines or even having your unit cleared out, undoing all your hard work.
Stop Moisture and Damage
Moisture is one of the biggest threats to stored items. Professional storage facilities aim for humidity levels between 30-50% to keep items safe. Here’s how you can protect your belongings:
- Elevate items on pallets to keep them off the ground.
- Use desiccant packs (1 per 100 sq ft) to absorb excess moisture.
- Add waterproof sheeting as an extra layer of protection.
For delicate items, consider renting a climate-controlled unit. These units maintain stable temperatures (55-85°F), which is critical for preserving:
- Wood furniture: Prevents warping caused by low humidity (below 45% RH).
- Photos and documents: Keeps them from degrading in high humidity (above 60% RH).
- Electronics: Avoids corrosion due to temperature fluctuations.
Pair these steps with proper wrapping techniques from Step 2 for added protection.
Keep Items from Falling
Unbalanced stacks are a recipe for damage and accidents. According to StorageMart, 80% of storage-related claims come from poor stacking practices. To avoid this, follow these weight guidelines:
| Layer | Max Weight |
|---|---|
| Bottom | 30 lbs |
| Middle | 20 lbs |
| Top | 10 lbs |
Maintain a 3:1 base-to-top weight ratio for stability. For extra security, use wall-mounted straps.
Check your stacks regularly. Look for signs of leaning or compression, and always leave clear pathways between stacks for easy access.
Summary
Bringing together the strategies from earlier steps helps you create a storage system that’s both efficient and secure. Proper packing ensures you make the most of vertical space while keeping every item within easy reach – just a couple of minutes to find anything you need.
Here’s what defines a well-organised storage unit:
Maximising Space
Take advantage of vertical space with shelves and distribute weight evenly.
Organised Layout
Use the access prioritisation method from Step 3 to divide your unit into three zones:
- Front (25%): Items you need often
- Middle: Seasonal items
- Back: Long-term storage
Extra Protection
Build on the wrapping techniques from Step 2 with these added precautions:
- Add dehumidifiers if necessary
- Keep a small gap between items and walls
- Pair moisture controls from Step 4 with climate control when needed
Easy Access
Keep pathways clear and rely on your digital inventory system for fast item retrieval.
FAQs
What’s the best way to wrap furniture for storage?
To keep your furniture in good condition during storage, start with breathable materials. This approach helps protect the furniture while allowing for easier stacking. Here’s a step-by-step guide:
- Apply furniture polish: This creates a moisture-resistant barrier.
- Wrap with acid-free paper and cotton blankets: These materials provide a protective layer without trapping moisture.
- Secure with twine: Twine holds everything in place without damaging the furniture.
Note: In humid environments, avoid using plastic wrap as it can trap moisture and cause mold. For storage under three months, plastic wrap may be okay if the furniture is completely dry, but don’t wrap it too tightly.
How can I elevate items in a storage unit?
Keeping items off the ground is key to preventing moisture damage. Here are some effective methods:
- Wooden pallets: These raise items 4-6 inches and can handle up to 4,400 pounds. Leave a 6-inch gap between the pallets and the walls to allow air circulation.
- Adjustable shelving: Perfect for lighter items, shelving helps organise and elevate your belongings.
- Electronics and valuables: Ensure these are at least 6 inches off the ground for added protection .