You get home from a wet weekend in the Peaks or the New Forest, open the boot, and the problem is waiting for you. A damp tent bag. Mud-caked pegs. A sleeping bag that smells faintly of smoke and rain. Boots by the door. Stove in a crate. Half the kit ends up in the hallway because nobody wants to deal with it on Sunday night.
That's exactly how good gear gets ruined.
Most camping gear storage problems don't start months later. They start in the first few hours after you get back, when wet fabric gets zipped up, poles stay dirty, and “I'll sort it tomorrow” turns into three weeks in a garage that never really dries out. In the UK, that mistake is expensive. Our damp air is far less forgiving than a lot of generic storage advice suggests.
The Post-Trip Pile Up and Your Storage Plan
The usual scene is familiar. Tent bag dumped by the washing machine. Roll mats slumped in a corner. Guy lines tangled around a mallet. Cooking kit still gritty from the last breakfast. If you've ever opened a storage bag at the start of the next season and found mildew freckles, sticky fabric coatings, or a sleeping bag that's gone flat, you already know the cost of rushing this part.
The fix isn't complicated, but it does require a routine. Good camping gear storage comes down to four actions: clean it, dry it properly, pack it for the material, and put it somewhere that won't wreck it between trips.
If your first challenge is containing the mess while you sort everything, it helps to protect floors and create a temporary work zone. A simple heavy-duty sheet under the gear pile saves a lot of cleaning later. If you want a practical example of what works for muddy unloads and garage sorting, this protective 9×12 canvas drop cloth guide is useful.
A decent system also cuts down the stress before your next trip. Instead of hunting for pegs in one cupboard and pans in another, you know where everything lives. If you're trying to get the loading side organised as well, these super easy packing tips help turn a gear mountain into a repeatable setup.
The best storage system is the one you'll actually use after a tired drive home in the rain.
What a workable system looks like
- A dirty zone: One spot for gear that still needs cleaning or drying.
- A ready zone: Clean, packed kit that can be grabbed for the next trip.
- A repair box: Spare guylines, patches, seam sealer, buckles, batteries.
- A list you trust: Not fancy. Just accurate.
Average campers don't need more gear. They need less chaos.
The Critical Clean and Dry-Down Process
This is the part that matters most. Dirt is annoying. Moisture is destructive.
In the UK, ambient humidity often sits between 60 to 90%, and mould growth on textiles becomes highly probable above 60% relative humidity. Storing tents or sleeping bags in sealed plastic bags traps moisture, creating a microclimate where bacteria and mould can proliferate and damage coatings and fabrics, as noted in this guidance on how to properly store recreational equipment.

Start with triage, not perfection
When the gear comes home, split it into three groups:
Needs washing now
Tent groundsheets, cookware, muddy chairs, stove case, boots.Needs airing
Sleeping bags, mats, backpacks, jackets.Needs inspection
Poles, pegs, guy lines, lanterns, battery gear.
This keeps you from doing the common lazy move of stuffing everything into one corner “until there's time”. There usually isn't.
How to clean without damaging your kit
Tents need a gentle hand. Use lukewarm water, a soft sponge or cloth, and mild soap only as needed. Aggressive scrubbing and harsh cleaners can shorten the life of waterproof coatings. Pay attention to hems, corners, and the base where mud and organic debris sit longest.
Sleeping bags are different. Follow the care label, unzip fully before washing, and avoid crushing the fill while it's damp. Down bags take patience. Synthetic bags forgive more, but they still need a full dry-out before storage. If they feel cool to the touch in the middle, they're not dry yet.
Cooking kit should be boringly clean. Any grease left on a stove, pan, or grill part attracts smells and grime, and old food residue seems to survive storage better than anything else.
Practical rule: If you're wondering whether an item is dry enough to store, it isn't.
Drying in a damp climate
Drying gear in Britain often means working around the weather rather than waiting for a perfect day. A line in the garden is great when you get one of those crisp breezy afternoons. More often, you'll need a spare room, an airing cupboard rotation, a drying rack near open windows, or a garage with active airflow rather than stagnant air.
What doesn't work is folding gear while “mostly dry”. Tent seams, webbing loops, sleeping bag footboxes, and foam mat straps hold moisture longer than the obvious surfaces. Those hidden damp spots are where mildew starts.
A useful crossover read if you're cleaning not just camping kit but the whole setup around it is this guide to seasonal RV cleaning and maintenance tips. The same principle applies. Seasonal gear lasts longer when the cleaning is thorough and the dry-down is complete.
Don't miss the small stuff
- Tent poles: Wipe dry before storing. Grit left in joints causes wear.
- Pegs: Clean soil off properly. Wet mud invites rust and mess.
- Headtorches and lanterns: Remove batteries before long storage.
- Boots: Dry slowly, away from direct heat, then brush and condition if needed.
The dry-down isn't glamorous. It is, however, the difference between opening your kit next month and opening a problem.
Smart Packing and Labelling for Easy Access
Once the kit is clean and completely dry, packing becomes a material problem. Different gear wants different storage. Treat everything the same and you'll either crush delicate kit, trap moisture, or make next trip's packing a scavenger hunt.

What goes in breathable storage and what doesn't
Tents, sleeping bags, liners, and fabric camp chairs do better in breathable sacks or loose storage. Cotton storage sacks, mesh laundry bags, or even clean pillowcases work better for long-term storage than the tiny stuff sack they came in. Compression is for transport, not for months in storage.
Hard goods are different. Cookware, repair kits, water filters, mugs, lanterns, and spare parts usually belong in clear plastic bins with secure lids. They're easier to stack, easier to inventory, and better protected from dust and accidental knocks.
That mix matters. Breathability for textiles. Containment for gear with hard edges and loose components.
Build a shelf system you can scan in seconds
A good storage shelf should work like a small workshop, not a mystery cupboard.
Try grouping by function:
- Sleep kit: Sleeping bag, liner, mat, pillow, ear plugs
- Shelter kit: Tent, footprint, poles, pegs, mallet, guylines
- Cook kit: Stove, pans, mugs, utensils, firelighters
- Camp living: Chairs, lanterns, tarp, washing line, repair tape
Labelling helps more than is often assumed. Not decorative labels. Plain labels you can read from standing height. If you've ever borrowed ideas from classrooms, nurseries, or shared family spaces, you'll know that simple visual systems are usually the most durable. These durable organization systems for daycare supplies make the same point in a different setting, and the logic carries over well to camping kit.
For choosing wraps, boxes, and protection for awkward items, this guide to materials for packing is worth a look.
Store for retrieval, not for the photo. A beautiful stack nobody can navigate is still a bad system.
A few packing trade-offs that matter
- Clear bins vs opaque tubs: Clear wins for speed. Opaque wins only if light exposure is a concern.
- Vacuum bags for soft kit: Fine for spare bedding. Poor choice for sleeping bags and many camping textiles.
- One giant box vs several smaller ones: Smaller boxes waste less time and reduce the chance of crushing gear at the bottom.
- Loose accessories in pockets: Convenient until you forget where the patch kit or stove wrench went.
A proper camping gear storage setup should let you find one item without unpacking ten.
Choosing Your Storage Location At Home or Away
Where you keep your gear matters just as much as how you pack it. A lot of generic advice online assumes a dry, stable garage and plenty of spare space. That isn't the reality for many homes in the UK.
A 2023 UK Met Office report noted that damp conditions contribute to 25% of household storage damage claims, and the UK averages 133 rainy days per year, making standard garage-bin storage less reliable in everyday conditions. The same guidance also notes that mould thrives above 60% relative humidity, which is common in UK garages and sheds, so imported “just keep it in the garage” advice often misses the point for British households in practice, as discussed in these garage storage hacks for camping gear.

The real strengths and weaknesses of each option
A garage or shed is convenient. You can drop muddy items there without carrying them through the house, and bulky kit fits more easily. The downside is that many British garages are cold, damp, dusty, and full of temperature swings. Fine for a folding table or plastic water carrier. Less ideal for tents, sleeping bags, or anything with coated fabric and electronics.
A loft frees up living space, but it can be brutal on gear. Heat build-up in summer and cold in winter aren't great for adhesives, plastics, batteries, and fabric coatings. Lofts also make access irritating. If you need a ladder and a torch just to get your mallet, you won't keep the system tidy.
A spare room or cupboard gives the most stable home conditions. That's usually the best at-home option for sensitive gear. The obvious drawback is space. Most households don't want chairs, dry bags, mats, and a family tent taking over the wardrobe.
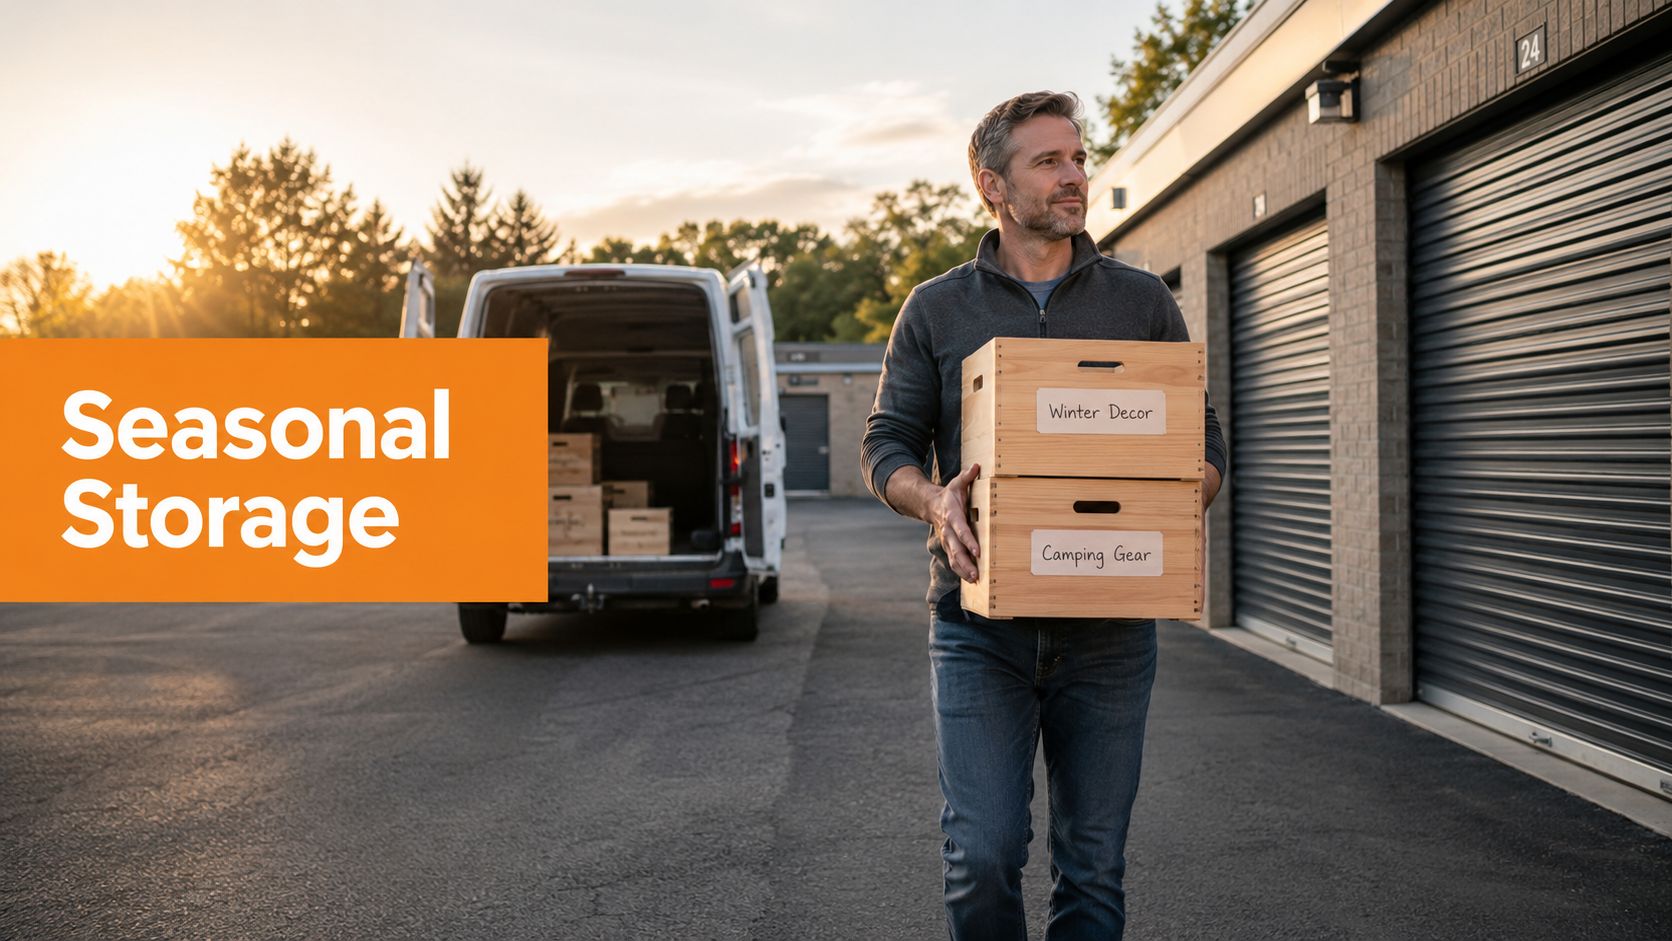
An external storage unit becomes useful when home storage forces bad compromises. You get your living space back, and your gear gets a dedicated environment instead of being crammed beside paint tins, bikes, and Christmas decorations. If you're weighing up temporary options for seasonal gear or a house move, this guide to temporary storage near me helps frame what to look for.
Storage Option Comparison
| Feature | Garage/Shed | Loft | Standby Self Storage |
|---|---|---|---|
| Climate stability | Often poor, especially in damp weather | Variable, with heat and cold swings | More controlled and predictable |
| Access | Usually easy | Often awkward | Straightforward, depending on unit setup |
| Impact on home space | Low | Low | None inside the home |
| Risk to textiles | Higher in damp conditions | Higher in fluctuating temperatures | Lower with better storage conditions |
| Best for | Tough bulky kit | Infrequently used durable items | Full kit storage and overflow from home |
Match the location to the gear
Not every item needs the same level of protection.
- Keep at home: First aid kit, trip-ready crate, maps, headtorches, repair pouch
- Use lower-risk utility space: Folding chairs, hard cool boxes, plastic crates
- Store in a better environment: Tents, sleeping bags, mats, electronics, premium outerwear
A cheap chair can tolerate a mediocre storage spot. A good tent usually can't.
That's the trade-off in plain terms. Convenience often pulls one way. Preservation pulls the other.
Selecting the Right Self Storage Unit
If home storage keeps pushing you towards damp corners, overstuffed cupboards, or a loft that cooks gear in summer, a storage unit starts making practical sense. Not because it's fancy, but because it solves three recurring problems at once: space, protection, and access.
That matters more now that people are buying better kit and expecting it to last. The global camping equipment market is projected to grow at a 5.92% CAGR to 2031, according to Fortune Business Insights. When a decent tent can cost £500 and a sleeping bag £300, protecting that investment from damp-related damage is a sensible move.
Choose size by layout, not guesswork
It's common to either rent too small and pile everything dangerously high, or too large and pay for empty air. The easiest way to judge size is by how you want to access the kit.
If you need seasonal deep storage, dense stacking can work. If you camp regularly, leave yourself a narrow path and keep the grab-and-go items at the front. One family tent, chairs, stove boxes, sleep kit, and a few accessory bins often take less room than people fear, but only if the shelves and containers are consistent.
Think in layers:
- Front access: Trip crate, boots, lanterns, stove box
- Middle shelf: Cook kit, repair kit, family essentials
- Long-term section: Spare bedding, awnings, seasonal extras
Features worth paying attention to
Climate moderation matters for outdoor gear. This is especially true for coated fabrics, down or synthetic insulation, electronics, and anything with metal parts. Stable conditions beat “probably fine” every time.
Security matters too. Outdoor kit is expensive, easy to resell, and annoying to replace piece by piece. Look for controlled access, strong site security, and monitored facilities.
A few points are worth checking before you commit:
- Access hours: You want to reach your kit when you pack, not only during awkward weekday windows.
- Contract flexibility: Seasonal kit shouldn't force a rigid long-term tie-in.
- Cleanliness: A tidy site usually reflects better overall standards.
- Insurance: Know what's covered before the gear goes in.
- Loading practicality: Trolleys, parking, and easy entry make a big difference in real use.
Don't treat a storage unit like a dumping ground
A unit works best when it's an extension of your system, not a place where order goes to die. Keep labels facing out. Keep textiles off the floor. Leave air around sensitive items where possible. Use shelving if the provider allows it and if your amount of gear justifies it.
The right unit doesn't just store your belongings. It keeps your camping gear storage routine intact.
Gear-Specific Storage Checklists
Some storage advice is too broad to be useful. Tents don't need the same treatment as stoves, and electronics shouldn't be packed like cookware. Use these checklists as your final pass before anything goes away for more than a few days.

Tents
- Store loosely: Use a large breathable sack, pillowcase, or mesh bag. Don't leave the tent compressed in its travel bag for months.
- Check the corners: Mud, leaf litter, and grit hide in hems and pegging points.
- Separate wet-risk items: If pegs or groundsheets still feel suspect, keep them out until fully dry.
- Inspect poles and elastics: Look for corrosion, cracking, bent sections, or tired shock cord.
- Protect coatings: Avoid storing anywhere that gets hot, sticky, or badly ventilated.
Sleeping bags and mats
A sleeping bag loses performance long before it looks ruined. Loft, fill distribution, and shell fabric all suffer from poor storage habits.
- Keep it uncompressed: Hang it or store it loose in a large breathable bag.
- Make sure the footbox is dry: That area often stays damp longest.
- Wash only when needed: Dirt and body oils matter, but over-washing also adds wear.
- Store mats flat or loosely rolled: Don't crank straps down hard for long periods.
- Check valves and seams: Especially on self-inflating mats.
If a sleeping bag comes out of storage thin, clumpy, or musty, the damage was usually done months earlier.
Cooking kit and fuel items
- Remove food traces: Tiny crumbs and grease marks become big annoyances later.
- Dry burner parts fully: Moisture and old residue don't mix well with metal.
- Keep utensils together: A simple cook pouch stops the endless pre-trip search.
- Store fuel separately and sensibly: Follow the manufacturer's safety guidance and never bury canisters in random mixed boxes.
- Empty water containers: Let caps and bladders dry before sealing.
Electronics and lighting
- Take batteries out: This is one of the simplest ways to avoid leaks and corrosion.
- Use padded boxes or original packaging: Torches, GPS units, and lanterns don't need to rattle around with tent pegs.
- Add silica gel where appropriate: It helps in enclosed boxes for dry storage.
- Label charging cables: Otherwise every trip starts with guesswork.
- Test before the season starts: Don't wait until the first night under canvas.
Clothing, boots, and soft accessories
- Store clean layers only: Mud and sweat left in fabric tend to linger.
- Dry boots naturally: Skip aggressive direct heat that can harden or crack materials.
- Loosen laces: It helps boots keep shape without strain.
- Pair gloves, gaiters, and small items: Mesh pouches stop them disappearing into bigger bins.
- Keep waterproofs hanging if possible: Crushed shells crease and clutter quickly.
Good checklists save gear, but they also save time. You spend less of the next trip fixing old mistakes.
Your Adventure-Ready Storage System
The best camping gear storage system is simple enough to use when you're tired and wet, but strict enough to protect expensive kit through months of British weather. The formula stays the same: clean, dry, pack, store.
Clean means getting rid of the dirt that wears fabric and corrodes metal. Dry means being patient enough not to trap moisture where you can't see it. Pack means choosing breathable storage for textiles and solid containers for hard goods. Store means putting each item in a location that matches its tolerance for damp, heat, clutter, and neglect.
That routine pays off in two ways. Your gear lasts longer, and your next trip starts faster. You're not unravelling mildew, untangling mystery cords, or discovering that the headtorch batteries leaked in February.
Home storage can work well if you've got the right space and enough discipline to keep it organised. But if your spare room is already full, your garage never dries out, or your loft feels like a bad compromise, it makes sense to move the kit somewhere better suited to long-term storage.
If your camping kit is taking over the house or sitting in a damp garage, Standby Self Storage gives you a cleaner, more secure place to keep it ready for the next trip. With flexible terms, strong site security, and convenient locations across the UK, it's a practical option when home just isn't the right environment for valuable outdoor gear.