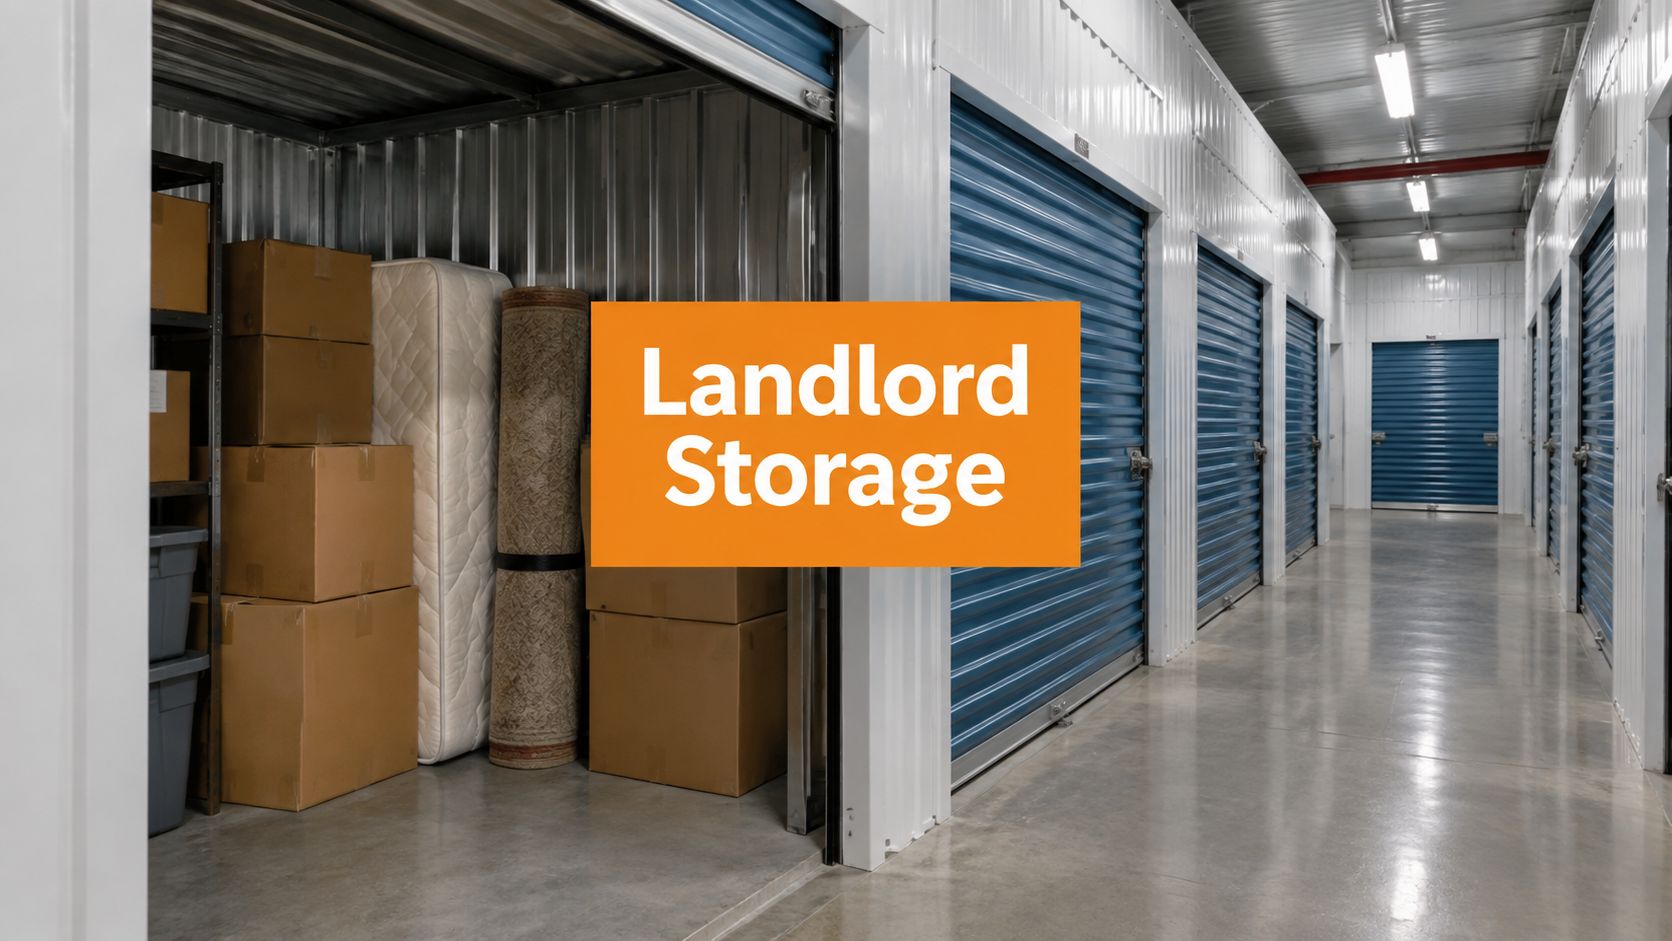

You've got the dust sheets out, the plumber's pencilled in, and half the dining room is already acting like a temporary depot for chairs, boxed mugs and the sofa cushions you can't quite decide where to put. In a place like Epsom, where homes are valuable and rooms often need to do more than one job, renovation storage in Epsom is less about “somewhere to put stuff” and more about keeping the build moving without wrecking the rest of the house.
That matters here because the local market is tight and expensive. Official ONS housing data for Surrey shows a provisional average house price of £569,000 in June 2026, a first-time buyer average of £424,000, an average monthly private rent of £1,694 in July 2026, and an average cash-buyer price of £518,000 in the same year, all from the Surrey i dataset. In homes at that level, staged refurbishments make sense, and so does clearing whole rooms off-site while trades work.
Why Renovation Storage Makes Sense for Epsom Homes
A common Epsom renovation starts innocently. The kitchen is due to be refitted, the hallway needs skimming, and the spare room has filled with lamps, books, a dining table leaf and three boxes of things that were “only there for the weekend”. Then the fitters arrive, the old units come out, and every item left in the house becomes another obstacle for the electrician, plasterer or decorator.
That's where storage stops being a convenience and starts acting like part of the build sequence. If you clear a room properly, trades can work cleaner, faster and with fewer pauses. Furniture stays away from dust, paint splashes and accidental knocks, and the home feels manageable even when one part of it is under construction.
Think in phases, not piles
The best use of storage in a high-value home is staged. Keep only what the family needs for the current phase, and move the rest off-site until the room is ready. That approach is especially useful if your project includes loft work, where access matters and you may be juggling furniture, boards, tools and the route to the top floor. If you're also planning an attic or loft change, this guide to attic conversion with balcony tips is a useful reminder that the awkward parts of a build often sit alongside the practical ones.
Practical rule: if a room can't be cleaned, measured or fitted without moving the same item twice, it probably belongs in storage for the duration.
For local homeowners, Standby Self Storage Epsom is a straightforward option because it sits close enough for repeat visits and short haul loads. That matters when a renovation runs in stages, because you don't want storage to become a second project in itself. You want a clean handover point between “in the house”, “in the unit”, and “back in the room”.
The win is psychological as much as physical. When the house is decluttered around the work area, the project feels controlled, not chaotic. That's the difference between living through a renovation and constantly reacting to it.
How to Choose the Right Unit Size for Your Renovation
Sizing a unit for renovation storage in Epsom starts with one question, what has to leave the house, and for how long? Don't size by eye. Size by room, by phase, and by how often you'll need to reach each item. A kitchen refit needs very different access from a loft conversion or a whole-house declutter, and that difference should decide the unit you book.

Build a room-by-room inventory
Walk the property with a notebook or phone camera and list the items that must move, then separate them into three groups, keep at home, store for the whole project, and store only until a phase ends. A dining table you'll need at weekends should not be packed against the back wall behind boxes of seasonal decor. A stack of spare tiles, boiler covers or removed doors can sit deeper in the unit because you won't need them every few days.
The self storage unit size guide is the right place to compare your inventory against unit footprints before you book. Use it alongside the Advice Centre so you're not guessing at cubic space when the issue is access. An aisle down the middle can save you from unpacking half the unit just to reach one labelled box.
Leave space for retrieval, not just storage. If you need to get to a box in the middle of the project, it should be visible without moving everything else.
Match the unit to the project type
For a short kitchen refit, a smaller unit often works if the load is mostly chairs, boxed crockery and appliances. For a staged whole-house refresh, a larger unit can make more sense because you can zone items by room and phase instead of stacking them tightly in one block. For a loft conversion, think about what has to be accessible during the build, then keep that load separate from everything that can stay untouched.
If your household also has hobbies, the idea behind craft storage for small homes is useful even when the project isn't craft-related. The principle is the same, store by access frequency, not just by category. That mindset keeps you from overpaying for dead space and helps you avoid the frustration of double handling.
Packing and Protecting Furniture and Belongings Properly
Once the unit is sorted, the next job is keeping belongings intact through dust, damp and repeated movement. Renovation storage is not just about moving things out. It's about making sure they return in the same condition, without a film of plaster dust on the drawers or a dent in a table edge because somebody leaned a radiator cover against it.

Clean, disassemble, then protect
Start with a quick clean before anything goes into wraps or boxes. Dust trapped under covers becomes grit, and grit is what scratches polished wood and soft finishes when items shift in transit. Take apart beds, remove table legs where possible, and keep fixings in labelled bags taped to the relevant item or boxed with the matching room.
Use breathable covers for upholstered furniture, and avoid sealing damp or freshly cleaned items in plastic for long periods. Mattresses, sofas and armchairs need protection from scuffs, but they also need airflow. Fragile pieces such as mirrors, lamps and crockery should be wrapped separately so one broken item doesn't damage the next.
Load for protection, not convenience
Heavy items go at the bottom, lighter or more delicate pieces above them. Never build a stack so high that you can't remove an item without shifting the whole pile. Put anything you may need during the renovation, spare light fittings, worktops samples, plug sockets, paint charts, into a marked access box and keep it near the front of the unit.
Good packing is a retrieval plan. If you can't tell what's in the box and where it sits in the load, you've made the later job harder.
The step-by-step packing guide is worth following if you want a repeatable system rather than improvised stacking. For a real renovation, that means labelling on two sides, photographing the load before you shut the unit and keeping a simple inventory on your phone. It takes a little longer on move-in day, then saves time every time you need something back.
The mistake is packing as if everything will stay untouched for months. Renovations change. Trades ask for access, a measurement is needed, or a replacement part arrives early. Pack so the unit can handle those changes without turning into a jumble.
Booking Access and Managing Logistics Around Your Build
The cleanest renovation timelines are the ones that treat storage like part of the schedule, not a separate errand. If your builder starts rip-out on Monday, the storage move should happen before that, not after the skip fills and the hallway becomes a bottleneck. A good booking flow lets you check prices online, reserve quickly and move in without waiting around while trades are on site.

Tie storage to the build calendar
Start with the dates you already know, demolition, delivery day, plastering, decorating and final fit-off. Then decide which items need to leave before each stage. If a kitchen is being removed, book storage before the first cabinet comes out so the room clears in one move. If a loft is being converted, move the blocked-up contents before the staircase or access route becomes crowded.
Access matters just as much as booking speed. Controlled access and a sensible entry routine help when you need to pop in for a single box or swap out stored items between phases. For medium-term projects, keep a living inventory on your phone, because a project that begins as a short disruption can easily stretch when a wall opens up or a specialist waits on materials.
Use a phased move, not a full evacuation
A staged move is usually calmer than trying to empty the whole house in one afternoon. Put the non-essentials into storage first, then move the bulky items once the room is ready for trades. That reduces lifting, keeps corridors usable and gives you a clearer sense of how much space the project will occupy.
If you're coordinating temporary accommodation as well as storage, it helps to think the same way. The advice in finding serviced apartments in Norfolk reflects a similar principle, match the temporary solution to the length and pace of the disruption, not just the fact that the home is unavailable.
Flexible terms matter because renovations overrun. Paint dries slowly, joinery slips, parts arrive late and someone always finds a hidden issue after the floor is up. The point of storage is to give the project room to breathe, not to force you into a rushed move-out date or pay for empty space long after the room is finished.
Security Insurance and Costs You Should Check Before You Book
Security, cover and pricing are separate decisions, and they should be checked separately. A storage unit can be convenient and still be the wrong choice if the site leaves you unsure about access control, or if the pricing structure makes a longer renovation unnecessarily expensive. Compare the basics side by side before you book.
| Feature to Check | What Good Looks Like | Why It Matters During Renovation |
|---|---|---|
| Perimeter security | Fencing, clear site boundaries and controlled entry | Reduces exposure while your belongings are off-site |
| CCTV | 24/7 CCTV monitoring | Adds visibility when items stay in storage for weeks or months |
| Access control | Restricted entry with a managed system | Helps you know who can reach your unit |
| Insurance | Clear terms for stored goods, with your own item list and photos | Makes it easier to document condition and value before move-in |
| Contract length | Flexible monthly terms with no long commitment | Prevents wasted spend if the project finishes early |
| Support | Phone or chat support for questions | Useful when plans change mid-renovation |
Ask the right questions before you commit
Standby Self Storage describes its facilities as accredited and fully insured, with secure perimeter fencing, 24/7 CCTV monitoring and controlled access, which are the right features to look for on a renovation project. It also offers flexible terms with no notice periods or long-term commitments, so you're not locked in if the build finishes sooner than expected. That combination matters when storage is tied to a project that may shift from a quick refit into a longer design-led declutter.
Insurance still needs your attention. Store only what you've documented, photograph key items before they go in, and keep a note of condition and rough replacement cost in case you ever need the record. A clear inventory helps whether you're storing a family dining set, boxed appliances or items you've moved out to create space for built-in cupboards.
The cost question is really about duration. Medium-term storage often makes more sense than people expect, especially when a project is happening in stages or the new layout is still being finalised. The right unit is the one that lets you keep the home usable without paying for more space, or more time, than the project needs.
Your Epsom Renovation Storage Checklist and Next Steps
A renovation goes better when storage is treated like an early project task, not a last-minute clean-up job. In Epsom, where homes are valuable and space is at a premium, the right unit can keep the house liveable while trades work and the design settles into place. It also gives you a calmer way to handle staged changes, especially when you're making room for permanent storage upgrades inside the home.
Use this checklist before you book:
- Measure and photograph the furniture, boxes and fixtures that need to move.
- Sort items by phase, keep, store short term, or store until the final finish.
- Choose a unit with access in mind, not just floor area.
- Pack for retrieval, with labels, an inventory and a clear access box.
- Book around the build schedule, before demolition or delivery day.
- Check security, insurance and contract terms before you move anything in.
- Plan the return journey, so items come back in the right order, not all at once.
The cleanest projects are usually the ones where the storage plan is settled before the mess starts. That leaves trades with clear space, protects belongings from dust and knocks, and avoids the scramble of moving the same items twice. If you're in the middle of planning renovation storage in Epsom, use the size guide, the Advice Centre and the booking tools to pin down the practical bits now rather than later.
If you're ready to clear a room, protect your furniture and keep your renovation on schedule, Standby Self Storage gives you a simple way to book, store and move back in at your own pace. Use it to keep the house workable while the build runs, then bring everything home when the room's finally ready.